
Shankarpali or Shakarpare recipe
Shankarpali is basically a sweetened dough made with all purpose flour fried in oil.
Shakapara is made with all purpose flour deep fried in oil and then it is coated with sugar syrup
Well yes traditionally shakarpara as well as shankapali is made of all purpose flour or maida but you can also make it with atta or whole wheat flour using the same recipe.
Usually if you used all fresh ingredients then shankarpali can last upto one month. There is minimal water used in the recipe and when you fry it the excess water will evaporate. If you keep it in a sealed container the shelf life can be extended. Professional cooks usually add preservative to make it last longer I.e sodium benzoate and such.
If you know any Marathi friend you will also know their Diwali Faral. It means many savoury and sweet delicacies made during the Diwali festival.
We exchange the snacks with out neighbours and in my old chawl neighbourhood it was kind of a competition in its own where everyone was a winner.
We love to make homemade Diwali snacks.
My mother use to start making snacks almost 15 days before Diwali and what a riot it was. Everyday was a new taste enjoyed by our taste buds. We as kids loved it.
They are homemade, fresh with best of the ingredients, healthy and most importantly cheap.
Now I make diwali snacks all around the year as it helps to cut down on junk food that we purchase from outside. No need to buy biscuits or namkeens from the store just 1 hour and you are good to go for atleast a week.
I usually make something that lasts me a week and then make something else the next week. Keep rotating the snacks and Voila! you will never have to feed your family with store brought crap.
My toddler daughter loves snacking in between meals and I just don’t prefer giving her outside snacks that much. These snacks help me with keeping her full in between meals plus I always try to keep it minimal and not addictive that outside snacks can be.
One such item is Shakarpare or Shankarpali in Marathi.
I don’t like the extra stress of creating sugar syrup if I am making it for daily consumption.
The only change you will have to make for shakarpare from this recipe is how you add your sugar.
I keep it rather simple and whip out the Diwali special recipe when I have time.
I love this recipe because it makes the shakapali perfect flaky crisps as I want them. Not too sweet not too blant. Just perfect consistency to have it daily.
In this recipe I am using all purpose flour or maida. If you wish to make more healthier version you can make it with atta as well. I just prefer maida ones.
Steps to make Shankarpali or Shakarpara
Making the dough
Dough making can be tricky for this recipe as you don’t need to knead it like you do with dough made for rotis. In Rotis we need to activate the gluten so we knead it a lot but this dough is more like short crust pastry where you just bind everything together for make a crispy out layer for baking like in pies or quiche.
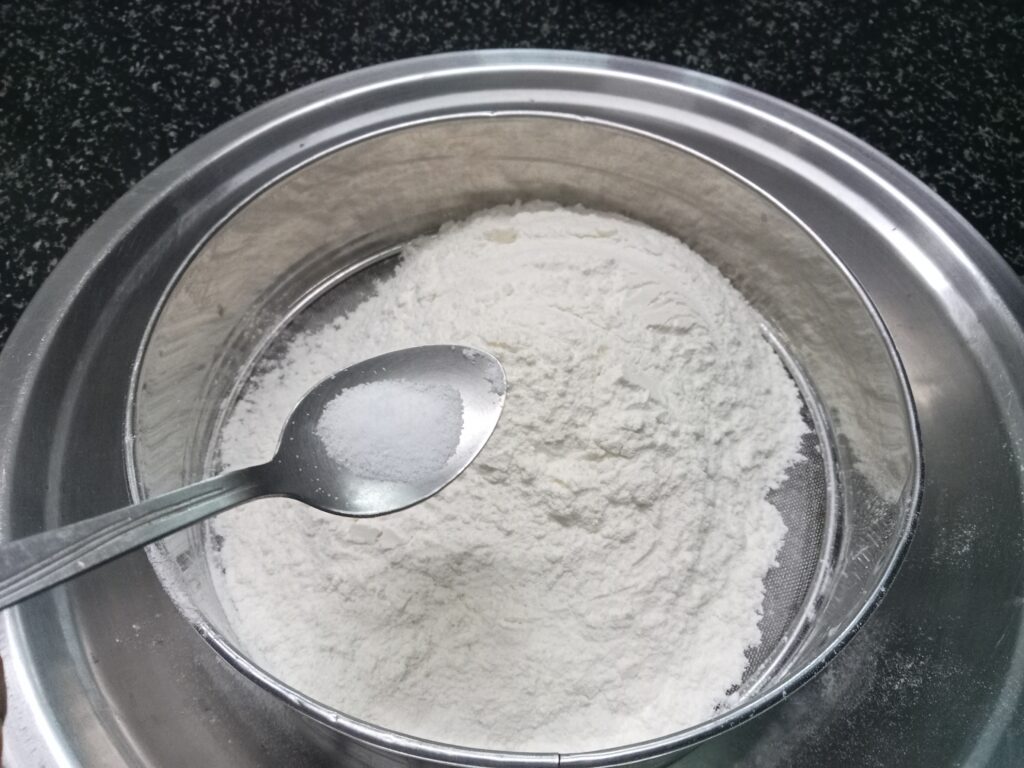
So you take all purpose flour add a pinch of salt. I like to add salt to my dough because enhances the flavour by many folds. I add salt to my sooji ka halwa or kesari bath and also to my kheer just a pinch and it gives a total different flavour.
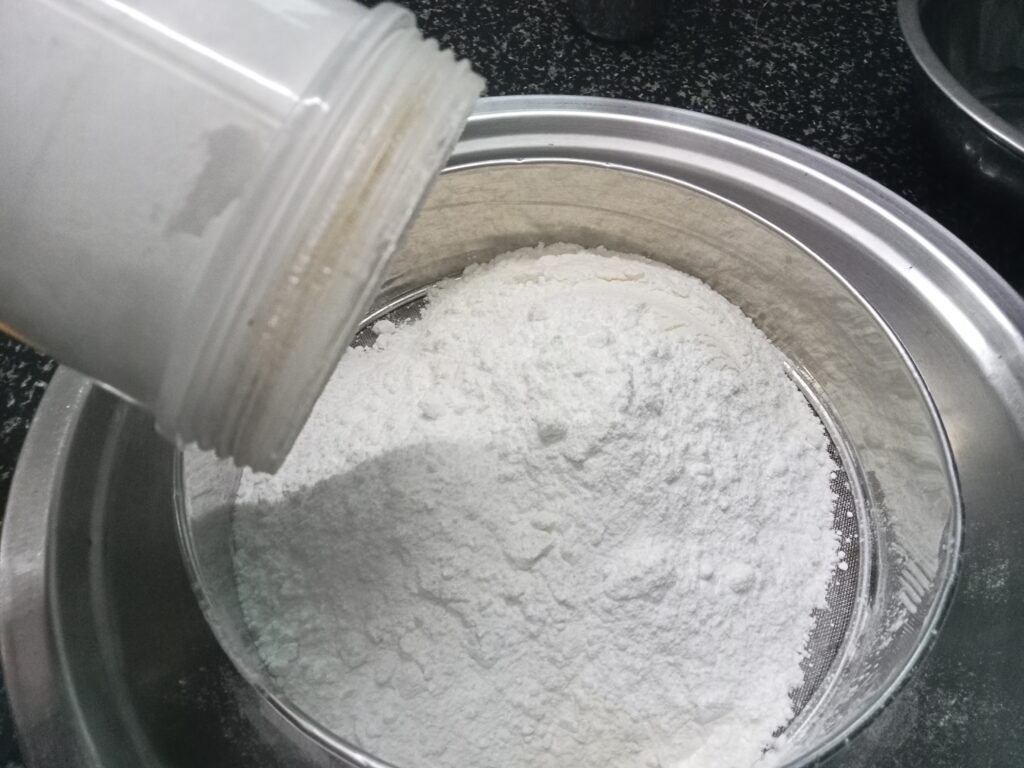
Now you add powdered sugar. Simple grind the sugar in your mixer and then take the measurement as the measurement for whole sugar and powdered sugar will be different and the taste will also differ.
If you wish you can add elaichi powder to this dough it is optional I don’t like the taste so I don’t add.
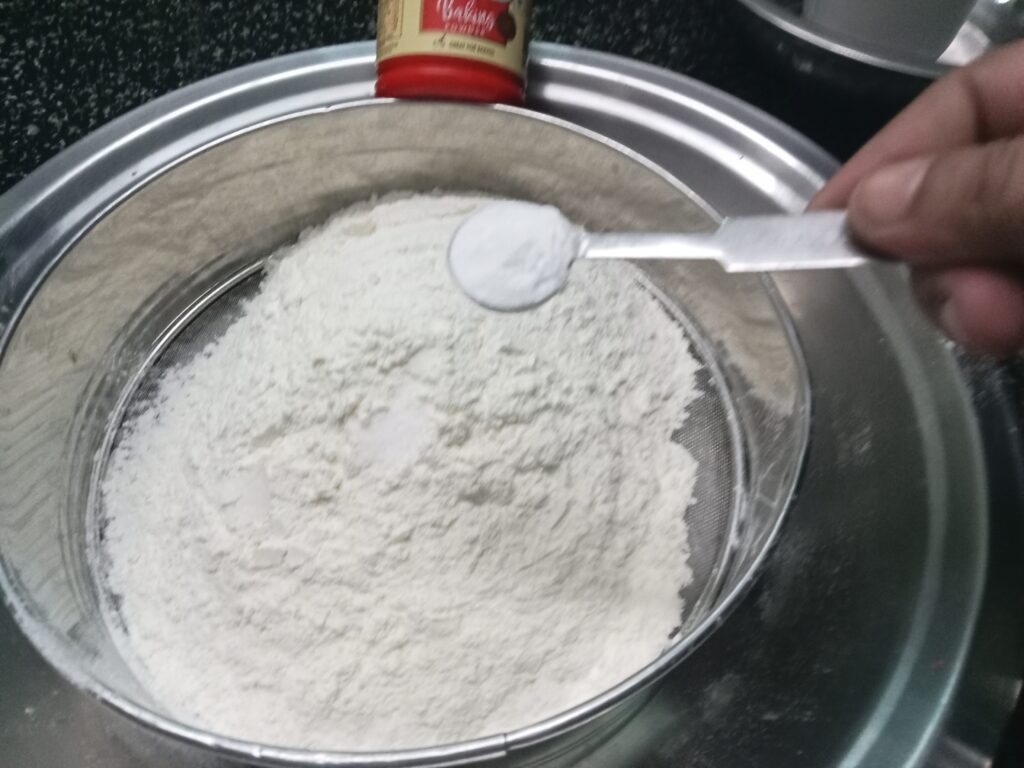
Now add baking powder to this flour. Baking powder and not baking soda remember that. The purpose or both are different we need baking powder here.
Sieve the Flour nicely so that there are no lumps from the sugar or any other ingredient. If the lumps are from sugar just press them against the sieve and they are break. If you wish you can sieve it 2 times to all the powdered ingredients are properly mixed.
Now mix all the ingredients with hand to mix all the powdered ingredients well.
Now take the ghee usually room temperature. If you are staying in warmer state ghee will be in semi liquid state whereas in colder regions or seasons it will be solid form so I suggest to warm it up a little where it is just melted but not hot.
Add this to the dough and mix it nicely using your hands. This is called shorting the dough like we do for short crust pastry. Let the ghee reach all through the dough.
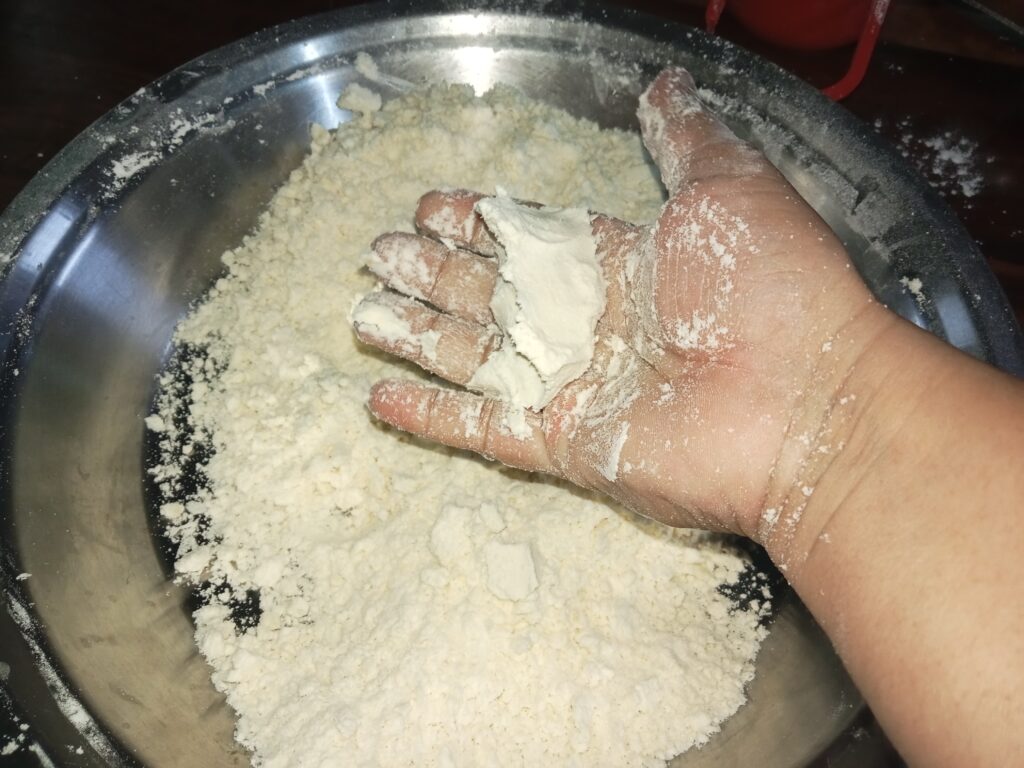
The test for this is once you have mixed the ghee take some flour in your hand and try to form a fist. If the flour stays togher then you are good to go. If it breaks you migh need more ghee.
I suggest go on the lower end of ghee first as it is easier to add ghee then to take it out of the dough.
If you want you can use oil as well but it won’t taste the same. But if you wish to make a vegan version use any plant based oil.
To make a product crispy add room temperature ghee or oil. If you want to make it crunchy use hot oil or ghee. We Indians call this process as moyan, moyin or mohun or moin.
So now add room temperature water in the flour and just bind it. Do not over knead it. You just need to bring it all together and not make it like roti or bread dough. I hope you get my point. The gluten in the dough should not be worked up.
Take a wet cheese cloth or any cotton cloth and keep the dough there. Let it rest for 10 – 15mins.
Tip – if you think that you will be taking a little long to fry these shankarpali then put it in the fridge. You can take it out and make it immediately
Rolling the Shankapali
Now that our dough is ready let the get to frying.
In a Kadhai pour enough oil to fry the Shankapali, since we have to deep fry it make sure the kadhai has enough depth.
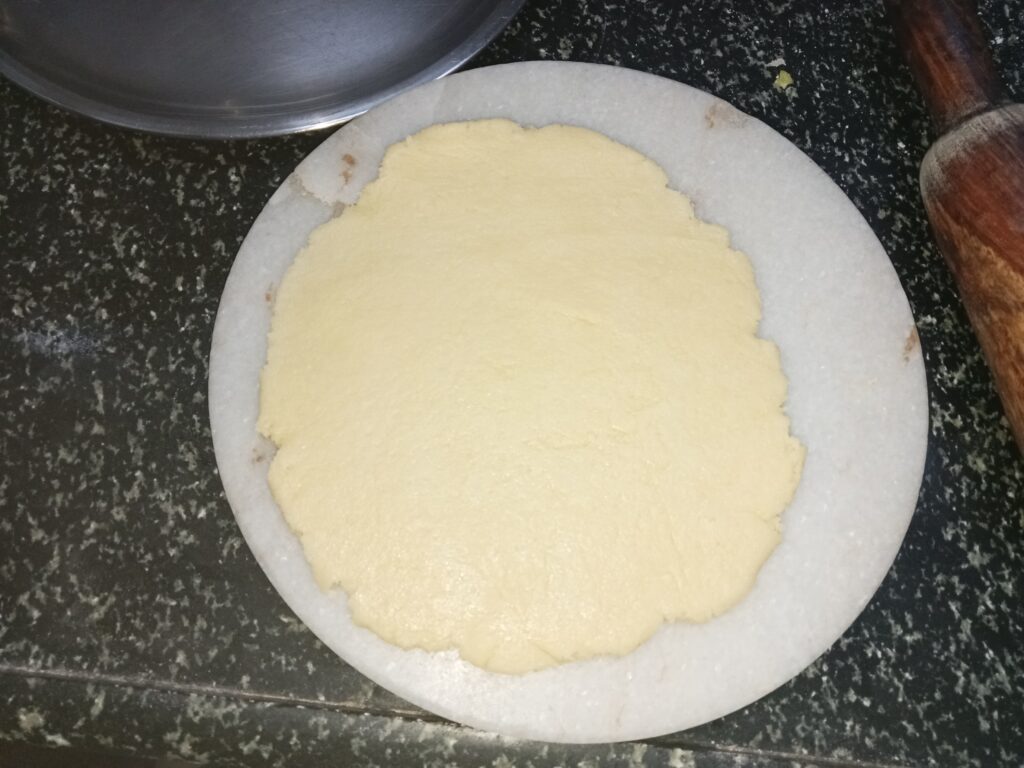
Take dough enough that you can roll out. Please do not use flour to roll the dough you will spoil the oil that we are cooking in.
I like to roll it out arounf 1 cm thick it is enough I think to make good crispy shankapali while cooking it from the insides.
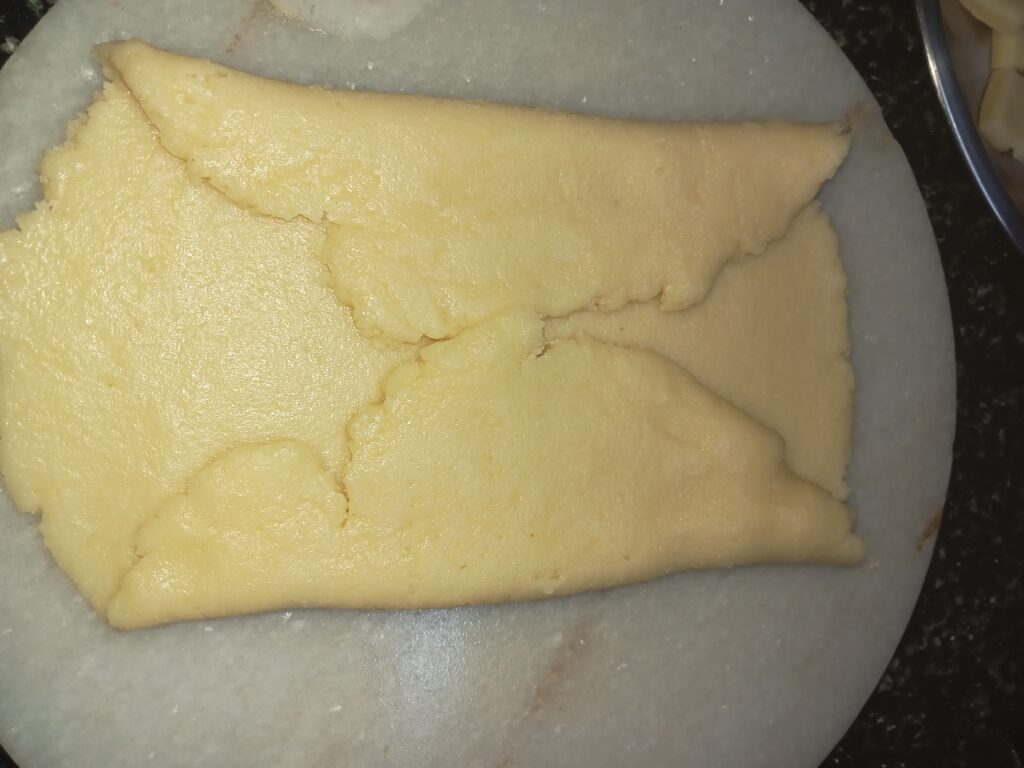
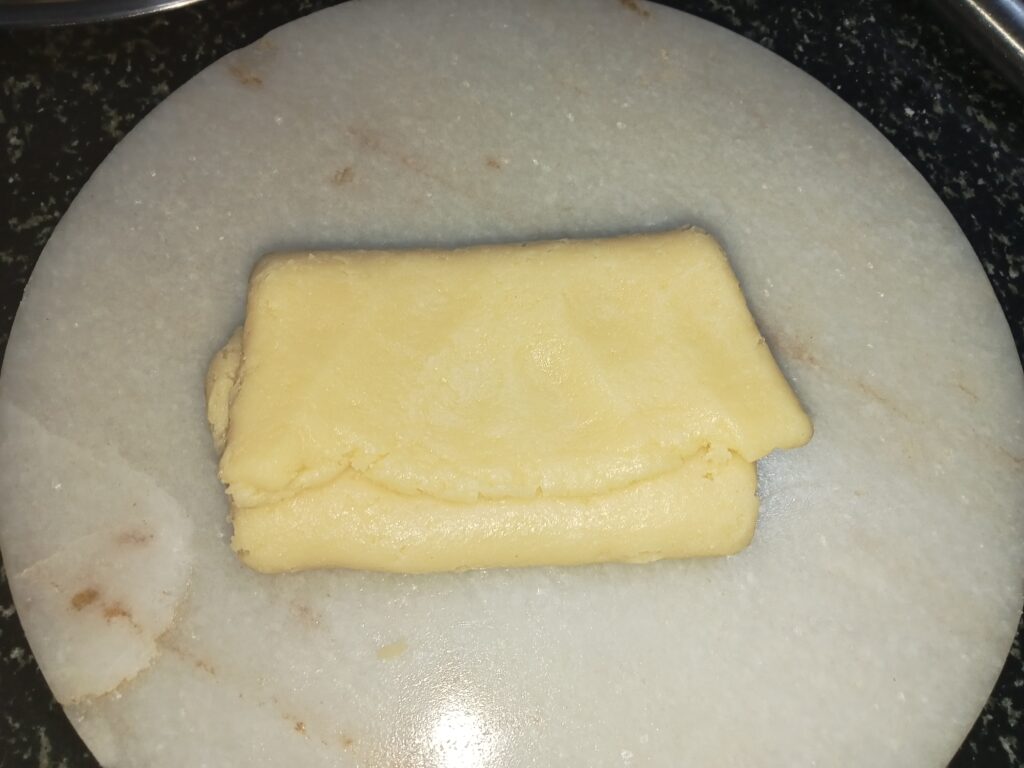
You can also use book fold method to make more layers in the shankapali. Just roll the dough and fold it like in the picture
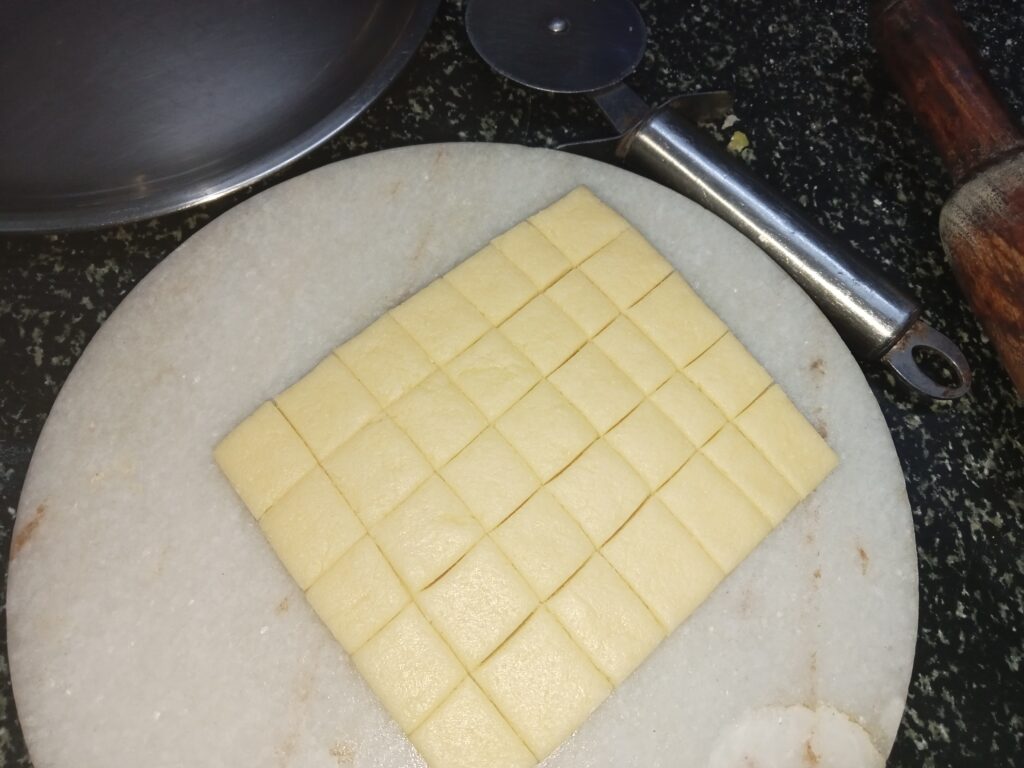
Either you can cut it in diamond shape or squares its your wish. If you have kids you can use cookie cutter to give it shapes too.
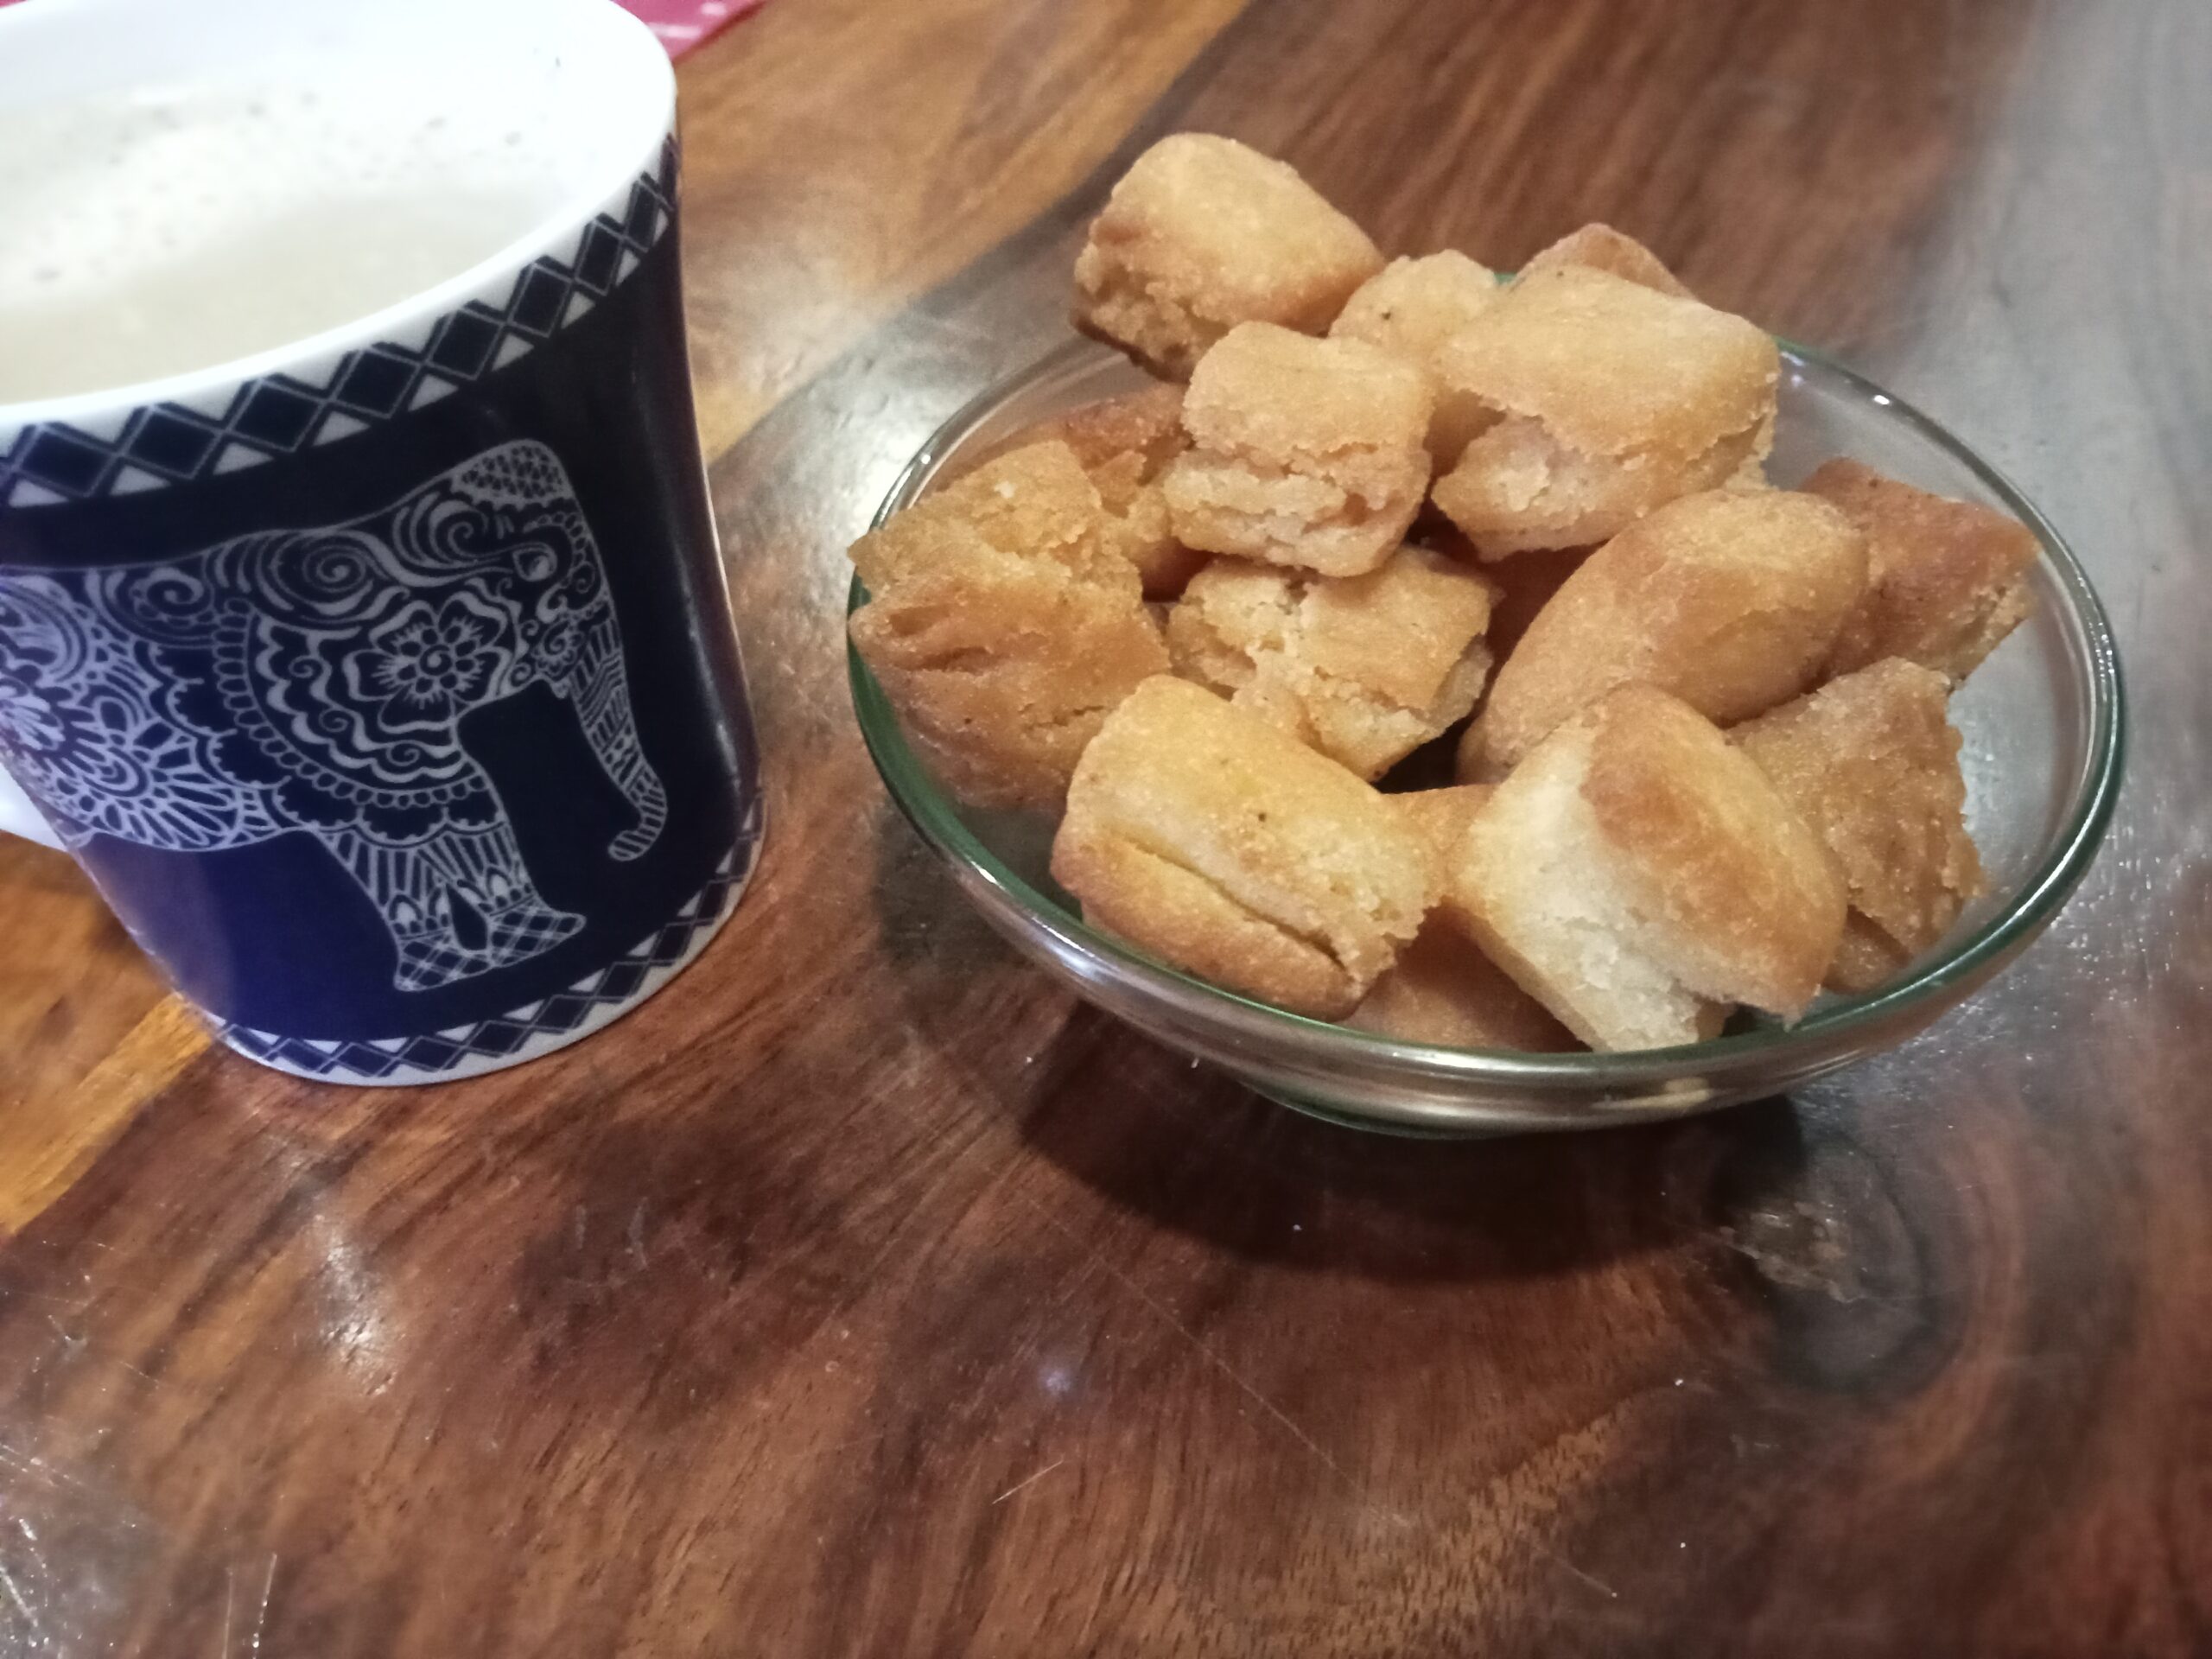
I like to cut mine in squares I like to dip my shankapali in tea and eat with a spoon. They taste delicious that way but each to its own.
Frying the Shankarpali
For frying I like to first bring the whole oil temperature up by putting it on the high flame and then either put the gas off and let it cool down or keep it on low for a little while. This is optional but just my way of doing it.
Once the oil is cooled a little on low flame put in the shankapali since it takes time for shankapali to put in I like to keep it on low.
Once all the shankapali for one time frying are in then I put the gas on high flame. This way a nice coating forms on the outer layer of the Shankapali it will taste super nice.

Once all the squares have reached at top of the oil lower the flame so that the inner layer of the squares cooks out nicely.
Let them cook on one side for around 5 minutes and then change the side till now everything is on low flame remember.
Cook it from both side nice golden brown. You will see nice layers forming on the middle of squares this is because of the baking soda that we added.
Strain the excess oil from the Shankapali and put it on a tissue.
Tip : Never use newspaper because the black ink of the newpaper will stick to it and give a wiered taste plus it is not good for health.
Once it is cooled down keep it in a airtight container and enjoy it will tea or just like that.
These layered shankarpali are so pretty and tasty you wont be able to have just one.
Shankarpali or Shakarpare Recipe
Ingredients for Shankapali Recipe
Maida / All purpose flour- 3 cups
Powdered Sugar – 1 cup
Baking powder – 1/2 teaspoon
Salt – as required just a pinch can enhance the taste of sweet
Ghee for Moyin – 75 ml
Oil for frying – as required
Elaichi powder ( optional) – 1/4 teaspoon
Steps to make Shankapali
Take flour, baking powder, powdered sugar, if you are adding elaichi powder then this would be the right time to add it.
Sieve all the ingredients together.
Now dry mix all the ingredients.
Add ghee and mix the flour thoroughly so that all the flour is nicely coarse with ghee. For testing take some flour in the hand and clench it into a fist if the ball stays intact then you are good to go. If not then add more ghee. Do not over use ghee.
Now make the dough with enough room temperature water. Do not over knead the dough. You just need to bind everything together. We don’t need to activate the gluten in dough. You need to make a medium consistency dough. Not too hard like we make for puri or too soft like we make for rotis. Somewhere in between.
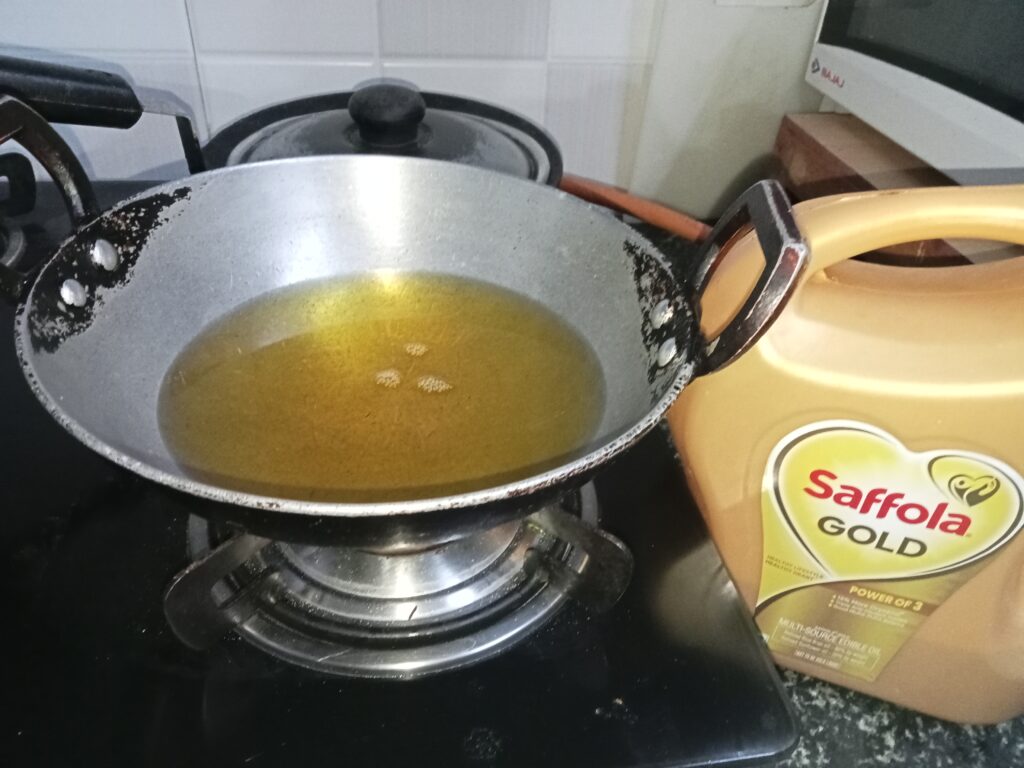
For deep frying I like to use refined oil so that there is not smell of anything other than ghee that we have put in.
Take a kadhai and put in enough oil to deep fry and keep it for heating
Roll you the dough without oil or dry flour.
Cut it into pieces that you like either diamond or squares. I like squares because they are easier to put in tea and have it with spoon.
Now once the oil is hot put once piece of the shankarpali and check. If it comes to top then the oil is ready.
On a high flame put some the shankapali in the oil. Do not over crowd the oil. Fry them in batches so that they have space to open up and will easier to turn.
In around 30 secs to 1 mintue the shankapali will floating on the top. This is the indication to lower the gas flame.
Do not stir or put laddle in the shankarpali till then.
For some time let it cook on one side.
Now use a laddle and turn the shankapali exposing the lower side up.
They will begin to expand nicely forming those layers we wanted.
Once it brown now you can remove the shankapali on a tissue to remove excess oil.
Note that initially the shankapali will be a bit soft but carry over cooking and cooling down will make it nice and crispy.
Once all the shankapali and cooled down. Keep it in a airtight container.
Enjoy it with some hot tea!
More recipes
Shankarpali is basically a sweetened dough made with all purpose flour fried in oil. Take flour, baking soda, powdered sugar, if you are adding elaichi powder then this would be the right time to add it. Sieve all the ingredients together. Now dry mix all the ingredients. Add ghee and mix the flour thoroughly so that all the flour is nicely coarse with ghee. For testing take some flour in the hand and clench it into a fist if the ball stays intact then you are good to go. If not then add more ghee. Do not over use ghee. Now make the dough with enough room temperature water. Do not over knead the dough. You just need to bind everything together. We don’t need to activate the gluten in dough. You need to make a medium consistency dough. Not too hard like we make for puri or too soft like we make for rotis. Somewhere in between. For deep frying I like to use refined oil so that there is not smell of anything other than ghee that we have put in. Take a kadhai and put in enough oil to deep fry and keep it for heating Roll you the dough without oil or dry flour. Cut it into pieces that you like either diamond or squares. I like squares because they are easier to put in tea and have it with spoon. Now once the oil is hot put once piece of the shankarpali and check. If it comes to top then the oil is ready. On a high flame put some the shankapali in the oil. Do not over crowd the oil. Fry them in batches so that they have space to open up and will easier to turn. In around 30 secs to 1 mintue the shankapali will floating on the top. This is the indication to lower the gas flame. Do not stir or put laddle in the shankarpali till then. For some time let it cook on one side. Now use a laddle and turn the shankapali exposing the lower side up. They will begin to expand nicely forming those layers we wanted. Once it brown now you can remove the shankapali on a tissue to remove excess oil. Note that initially the shankapali will be a bit soft but carry over cooking and cooling down will make it nice and crispy. Once all the shankapali and cooled down. Keep it in a airtight container. Enjoy it with some hot tea!Shankarpali or Shakarpare recipe
 (No Ratings Yet)
![]() Loading...
Loading...Ingredients
Instructions
Stay Blessed!


No Comments